
Bike & Gear
The Bike
First things first, to ride with Devo, your child will need a mountain bike. Not all bikes are made the same. Some are meant to be ridden on the road, others on trails. And even those that are meant for the trails are not all made the same. Bikes from reputable brands like Trek, Specialized, Giant, and others are not the same as those bought at Costco or Walmart. While cheap prices may be tempting, the old adage “you get what you pay for” rings very true in this sport. Just check out this video…
Unfortunately, mountain biking is not an inexpensive sport. However, unlike other sports, bikes can be passed down from sibling to sibling. Also, good bikes retain their value pretty well even over several years. Still, the upfront investment can be more than other sports. This page will provide a little bit of guidance on what kind of mountain bike is appropriate for your child.
Disc Brakes

Disc brakes are still fairly new to bikes. As a matter of fact, most road bikes today don’t use disc brakes yet. However, you can find them on most mountain bikes today. Even the ones sold at Walmart!
Mountain bikes are meant to be ridden in all types of terrain including mud and water. The brakes that came before disc brakes, caliper or cantilever brakes, worked by applying pressure to the wheel which sits closer to the ground. On muddy rides, mud can often get on the brake pads reducing the effectiveness of the brakes. Hence, making it very dangerous for the rider and those around.
Disc brakes have a lot more stopping power and are a lot more reliable. So, here’s our recommendation:
DO: Get a mountain bike with disc brakes. Preferably the hydraulic variety. While non-hydraulic brakes work well too, hydraulic brakes are much more powerful and easier for smaller hands to actuate.
DO NOT: Get a bike without disc brakes! We’ve had a lot of kids who’ve ridden older mountain bikes handed down to them from their parents. While that’s super cool, just make sure that you’re handing down a bike that’s safe. Our lowest standard of safety for bikes these days all have disc brakes.
Quick Release or Thru Axles
Out on the trails, it’s inevitable that one of us will get a flat tire during the season. Because flat tires are so common with bikes, most bike manufacturers today make it easy for tires to be fixed out on the trail with minimal tools. One way they do this is by making it easy for the rider to remove their wheels. In order to fix a tire, you have to first remove the wheel. Older or cheaper bikes don’t allow you to remove the wheel without a wrench.

A quick release or, even better, a thru axle, is a rod that goes through a wheel’s hub to secure the wheel onto the bike. The nice thing about a quick release or thru axle is that it’s easy to remove without any tools — making it fast and easy to remove a wheel so you can patch up the tire or tube. So, here’s our recommendation:
DO: Get a bike with thru axle (preferred) or quick release wheels.
DO NOT: Get a bike that has wheels that are bolted on with a typical nut. This will just make it impossible for your child to get their tire fixed during a ride (because none of our coaches or ride leaders carry wrenches on rides)
Wheel sizes
Currently, there are primarily two wheel sizes for mountain bikes:
27.5” (or sometimes called 650b)
29”
There are also smaller wheels for the smaller riders — usually 24”. However, most of our middle schoolers are big enough to be able to ride a 27.5” or 29” wheel sized bike.
DO: Get a bike with 27.5” or 29” wheels. The previous standard was 26”. That’s fine too, but they’re hard to find new.
DO NOT: If your child is at least 5’ tall, they should be able to fit on a bike with 27.5” to 29” wheels. Don’t get a 24” wheel sized bike if your child is 5’+ tall. It’ll be way too small for them.
Okay. what bike should I get for my kid?
I’m glad you asked.
First, find your local bike shop, LBS. If you live in the Oakland area, here are some recommendations:
Goldie’s Gears, Oakland (call ahead, it’s a one-man shop for repairs only)
Visit one or all of those shops with your kid. Get your kid sized for a bike and tell the person at the shop helping you that they’ll be riding with Oakland Devo — they know who we are. They’ll make the perfect recommendation for your kid and get them on the most appropriate bike for our style of riding.
The best part about our local bike shops is that they support our club. If you do end up purchasing a bike from most of the retailers above, mention that your child rides with Oakland Devo (a NICA sponsored club) and you’ll get a nice 25% discount.
As for specific bikes to take a look at… well there are a lot. However, because the middle school years are a prime period for your child's physical growth, it’s probably best not to get the absolute best bike for them, because it’s likely that they’ll outgrow it by high school.
We recommend looking for a “hard tail” mountain bike. A hard tail has front suspension but none on the back. Most of the trails we ride won’t require a “full suspension” bike. Some of the coaches have them because they’re old and need that extra cushion, but the kids don’t.
Here are just a few brands and models of bikes to look at:
There are so many bikes out there. But if you just want a punch list of features, here they are:
Trail or Cross Country hard tail mountain bike
Disc brakes
27.5” or 29” wheels
Thru axle or quick release wheels
1x drivetrain* — simplifies the bike gearing so that there’s only one shifter. Making the bike easier to operate and lighter too.
Tubeless ready tires and wheels* — tubeless tires are less likely to go completely flat since they have a liquid sealant that seals small holes.
Dropper seatpost* – this allows the seat to be high when optimal pedaling efficiency is needed, on the flats or going up hill, but to be low and out of the way when going down hill.
* Optional but highly recommended
Most bike shops will let you “demo” a bike. Ask if you can do that. Some will charge you, but usually you can apply the fee toward the purchase. Riding bikes around the parking lot is fine, but if you can, try to demo it on the trails. We’ve had kids bring demo bikes to our rides.
How much should I expect to spend on a new bike?
A great bike that fits the criteria above will cost anywhere from $1,000 - $1,800. We know that that sounds like a lot. But as mentioned before, these bikes will hold their value and can be passed down to a sibling, relative, or friend. Plus, these bikes can be ridden outside of Devo — to school, for fun, commutes, etc.
If you do find this cost prohibitive, PLEASE PLEASE talk to us before you decide this is not the sport for your kid. We can find a way to make it work. We do maintain a small fleet of loaner bikes donated to us and have loaned those out to kids in the club. We’re also working out a partnership with Trek in order to get bikes at cost. So, if you find that Devo is going to put a financial burden for your family, please contact us first so we can help.
Other Gear
Let’s make it simple. Here’s what else your child will need:
A helmet. Hopefully, a recent one. Helmets expire. There should be a date inside the helmet. If it’s older than 2 years, consider getting a new one. Kids without helmets can not ride with us.
Full finger gloves. Full finger gloves are a must. Accidents happen and the first thing that usually makes contact with the ground, a rock, or a tree are hands. When they’re not protected, they’re usually scuffed up pretty badly. So, cover those digits.
Padded bike shorts. Our rides on Saturdays will last 3 - 4 hours. Imagine sitting on your bum pedaling that long without padded shorts. Not having padded shorts is one way to make sure your kid doesn’t like ridding bikes. So, protect those precious bums.
Breathable shirt and lightweight cycling jacket. Working out in cotton clothes will cause your kid to overheat. Look into non-cotton or a cotton blend shirt (short and long sleeve) that they’ll be comfortable in. Nothing fancy. Target and Old Navy sells good quality workout shirts.
Hydration pack or water bottle. We’ll get into this more on the Ride Nutrition page, but a CamelBak or the like is a good investment.
A spare tube. Our coaches typically carry spare tubes or patch kits with them, but teaching your kid to carry their own is a good thing. Besides, it would really suck if they had to walk their bike back a few miles because they didn’t bring a spare tube.
A simple bike multi-tool and tire lever. Not required, but later in the season, we’ll be teaching the kids how to maintain their own bike. Including how to patch or change the tube in the tire if they get a flat, and other simple bike maintenance tasks.
A lot of these items can be purchased on Amazon for much cheaper than you’ll get them in a retail store. For example, I’ve purchased full finger mountain biking gloves from Amazon for my kids for less than $10. One thing you won’t want to skimp on is a helmet. Concussions are very real. Get a decent helmet. Expect to spend $50+ for a good helmet. Another good online retailer to look at is Jenson USA.
MTB Everyday Carry Kit
We teach our riders to be self-sufficient when they ride. They should carry the proper tools to be able to:
Fix a flat tire
Adjust their drivetrain
Fix a broken chain
Make minor adjustments to the bike so that they can ride it again
In order to do this, our riders need to have the proper tools and a way to carry them when they ride. Here are a few recommended items you can purchase online or from your local bike shop. Remember, our riders do get a NICA discount on parts and tools from most local bike shops, but if you’d rather just get them online, these items are linked to Amazon.
Tire repair
Let’s start with the essentials for fixing a flat. Most of the newer mountain bikes today come with tubeless tires. Tubeless tires are mostly self-healing tires. If you get a puncture on a tubeless tire, you sometimes don’t even know that you did. That’s because by the time it took for a hole to form on your tire, the tubeless sealant has already “patched” your tire. So, if you don’t have tubeless tires, look into getting them.

However, sometimes the sealant in a tubeless tire is not enough to seal the puncture — either because it’s too big or the sealant in the tire is dry. In this case, you may need a tubeless tire plug kit. This tool will allow you plug the hole with a small piece of rubber that you insert with an applicator that looks like a needle. The kit on the right also comes with a pair of valve cores that could be useful.

Another tool you need to fix a flat is a pump. We recommend the Crankbrothers Klic Hand Pump. This is a premium hand pump that packs up small but also makes it easier to not damage the presta valve on the wheel. There are lots of alternative pumps out there, but this is one of our favorites.
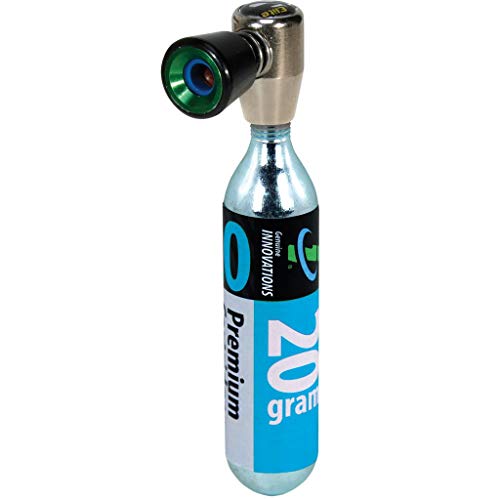
While we’re not huge fans of CO2 pumps, they’re handy to have around in case you forget to pack your pump or you need to inject air really fast into a tubeless tire in order to seat the bead. In this case, it might be good to have a pair of CO2 canisters in your saddle bag along with a CO2 inflator. The kit we recommend is Genuine Innovations Air Chuck Elite Inflator.

If your tubeless tire can’t be fixed by the sealant or a tire plug, then you’ll likely need to put an inner tube in it. Any old bike tube will work assuming the size is compatible. In a pinch, you could make a 26” tube work in a 29” wheel and vice versa, but you should buy the tube that fits your wheel.

If your tube has a leak, you’ll need a patch kit. These are tiny little kits that are usually about $5.
Multi-tool

The tools above should be enough to get you home from a flat tire. However, you’ll still need a few tools to help you fix that flat tire. One of out favorite tools of late is the Topeak Hexus X Multi Tool. This multi-tool contains a pair of tire levers that you’ll need to remove a tire so you can put a tube in it. It also contains a chain breaker, in case you need to repair a broken chain, and all of the allen and torx wrench sizes to fix most modern mountain bikes.
Pack or Strap

Many coaches prefer to carry all of these tools on my bike if possible. There are lots of considerations here. If you have a dropper post on your bike, you’ll likely not want a saddle bag since most saddle bags strap onto the seat post. In this case, you might consider using a “frame strap” like the Granite Rockband Carrier Strap. I’ve also had success in using this strap under my seat. For added protection, some people employ a used coffee bag, put all my tools in it, then used the strap to attach it to my saddle.
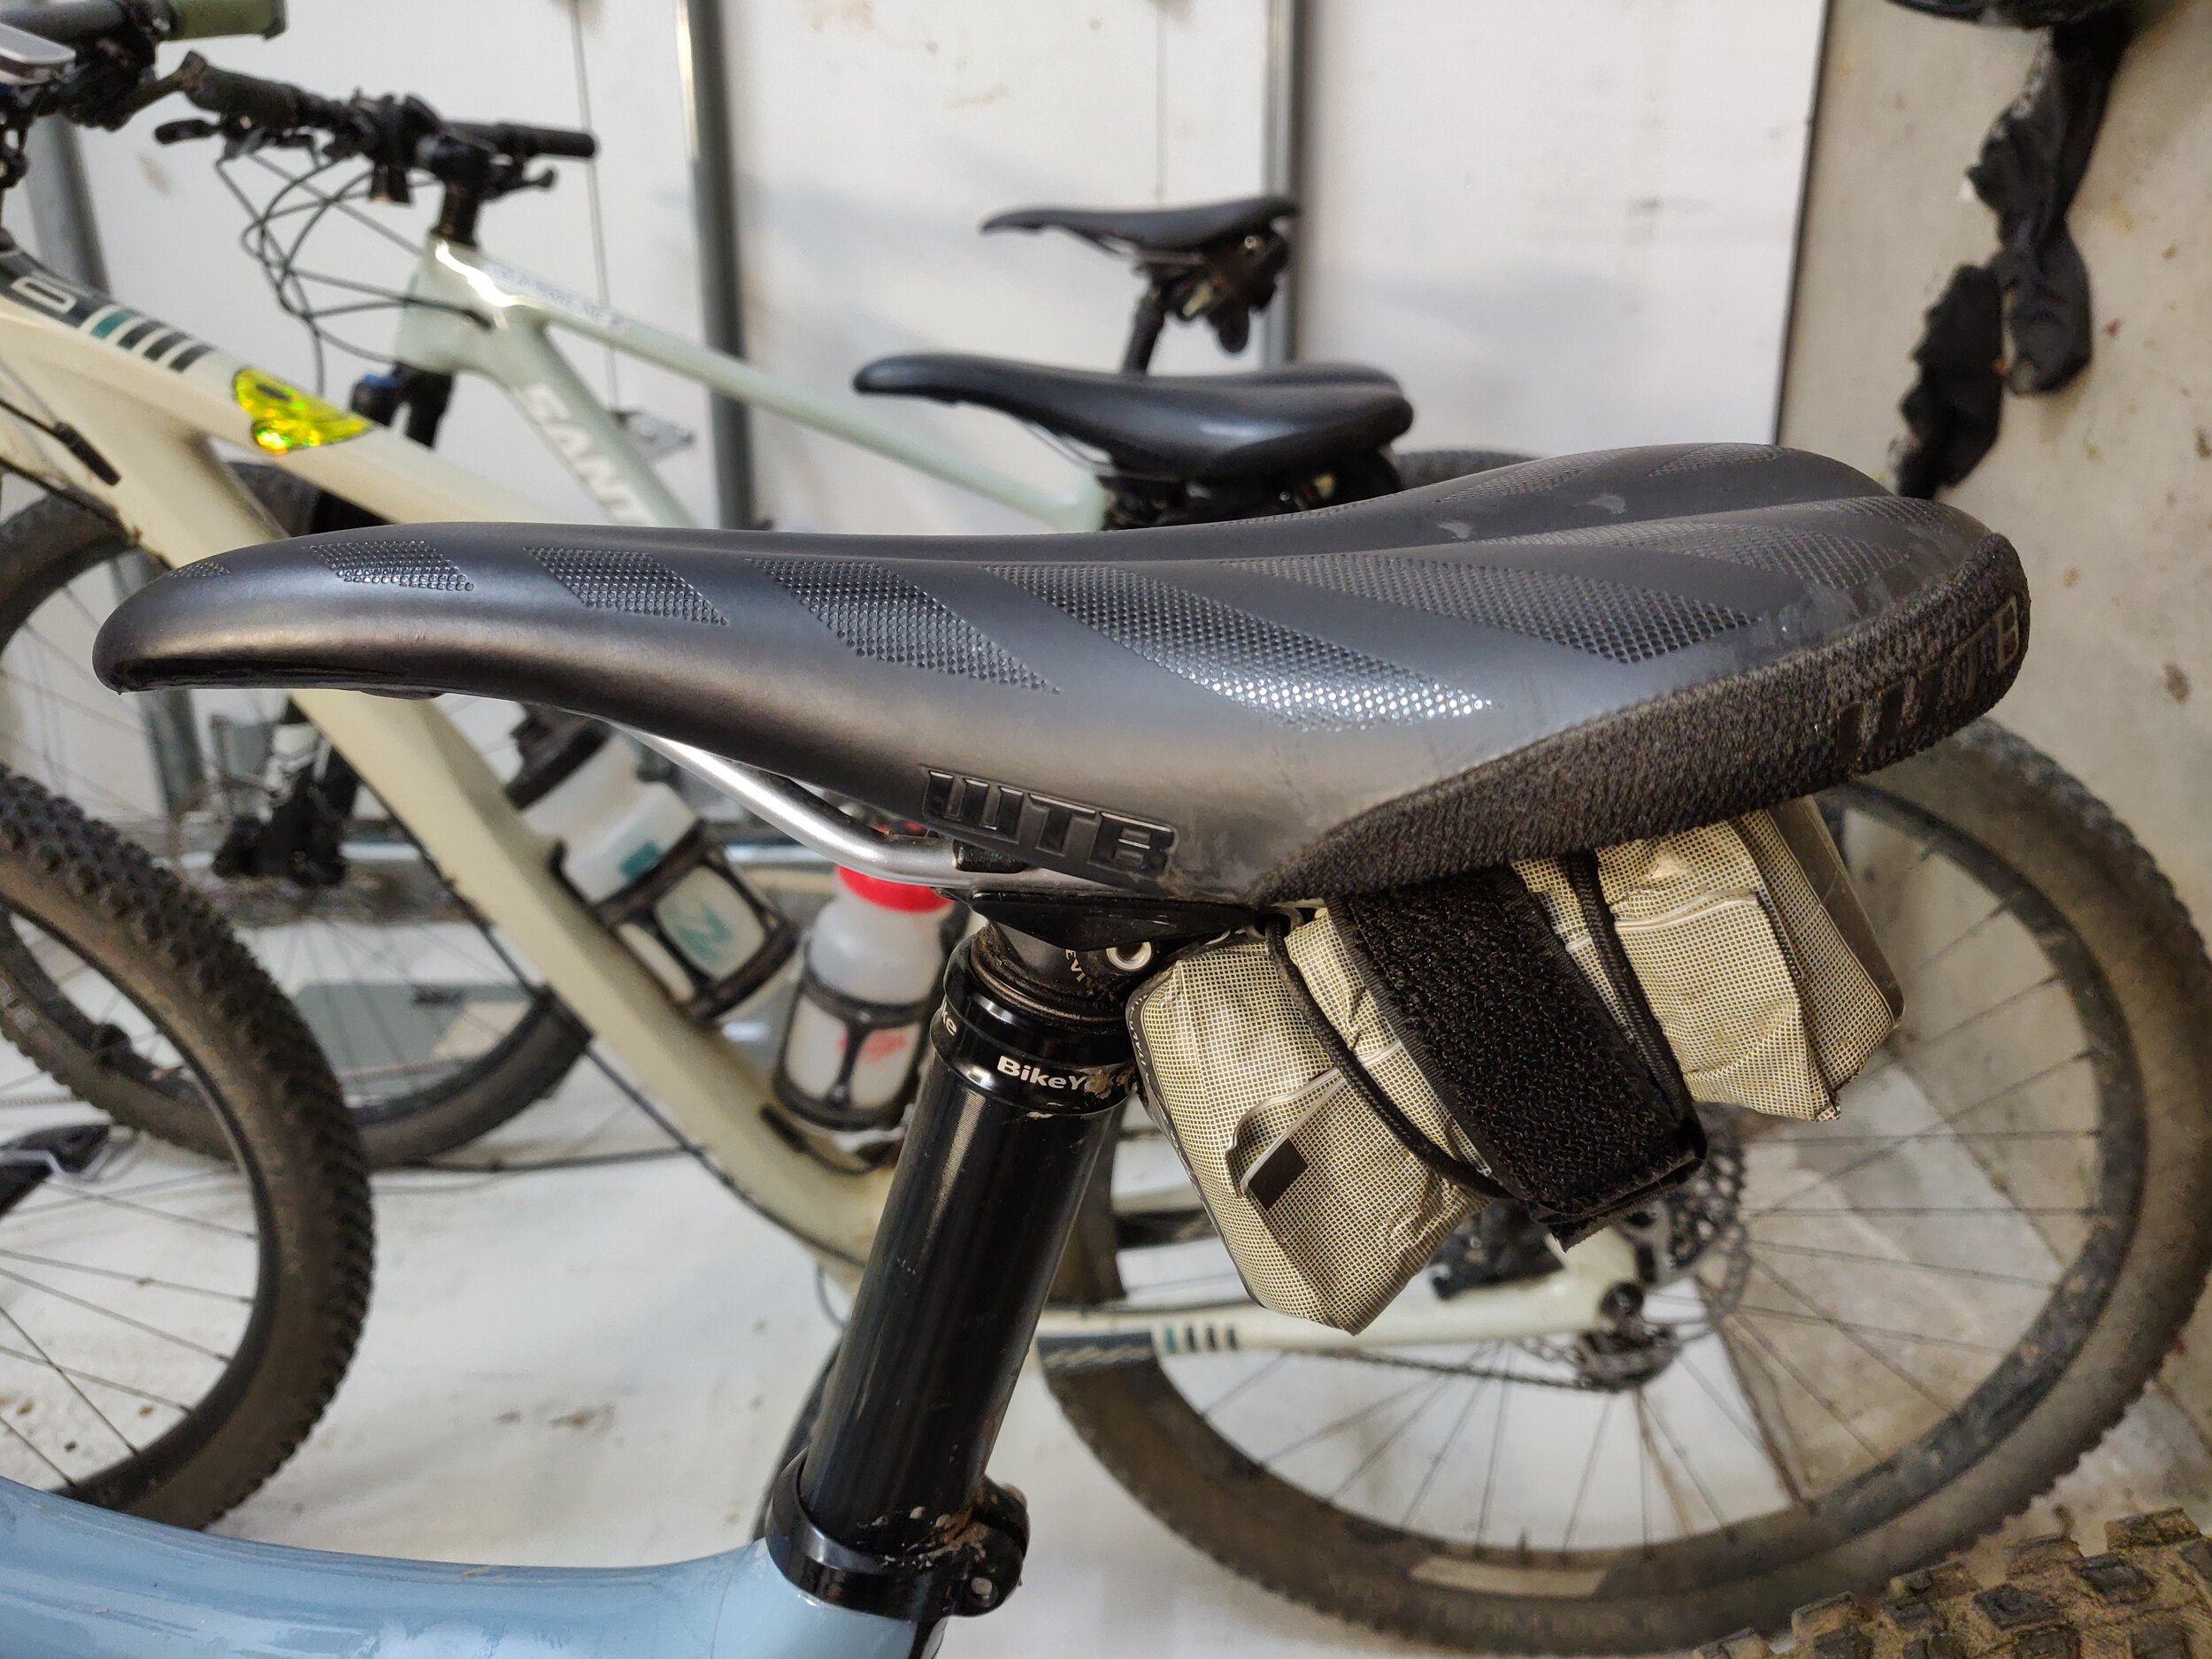
Coffee bag mounted to my saddle with a strap
Most, if not all, of the tools above should be able to get our riders out of sticky situations on the trails. Please outfit your riders with the necessary tools and help us teach our riders how to be self-sufficient on their bikes.

